
You make the food.
You take the photos.
Here is how.
Guides written specifically for solo food business owners who wear every hat and need photography techniques that fit into a real working day.
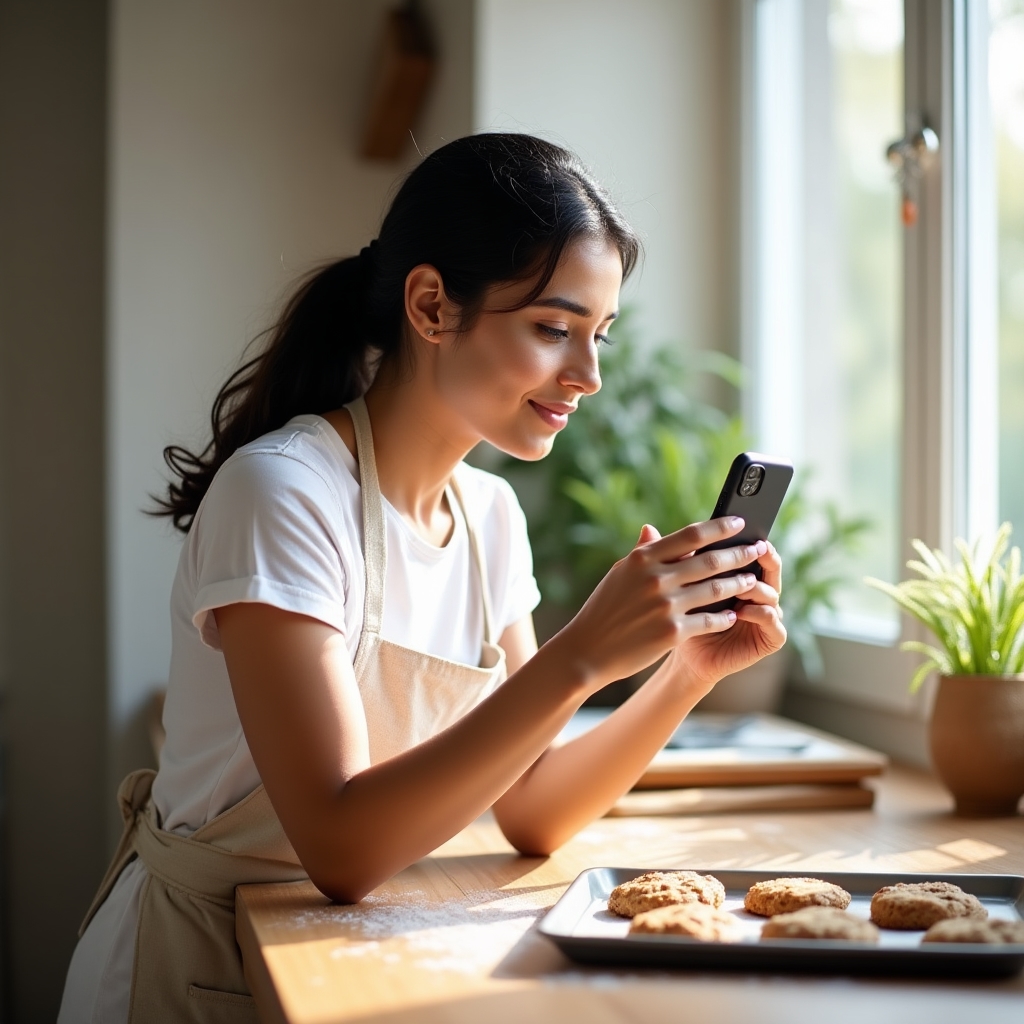
Different businesses, same core challenges
Home Bakers
You sell sourdough, cakes, cookies, and pastries through Instagram DMs and Etsy. Your kitchen is your studio. The techniques here are designed for exactly that environment.
- Overhead angles for flat pastries and cookie arrangements
- Side lighting for bread crust texture
- Linen and wood backgrounds for artisan aesthetic
- Quick Etsy listing image workflow
Makers and Preservers
Jams, pickles, hot sauces, spice blends, infused oils. Your product is in a jar or bottle. That presents specific photography challenges around labels, reflections, and communicating flavor through an image.
- Avoiding label reflections with angle adjustments
- Showing product contents alongside the package
- Styling with ingredients as supporting props
- Consistent product grid for Etsy shops
Cafe and Pop-Up Sellers
You sell at farmers markets, pop-up events, or through a small cafe window. Your photography needs to work for Instagram Stories, event promotion, and a simple website menu or landing page.
- Vertical Story formats for event promotion
- Drink photography at 45 degrees
- Quick shoot workflow between prep and service
- Consistent feed aesthetic across different products
A shoot session that fits into your day
When you are running a food business alone, photography cannot take hours. This workflow is designed to produce usable images in under 30 minutes.
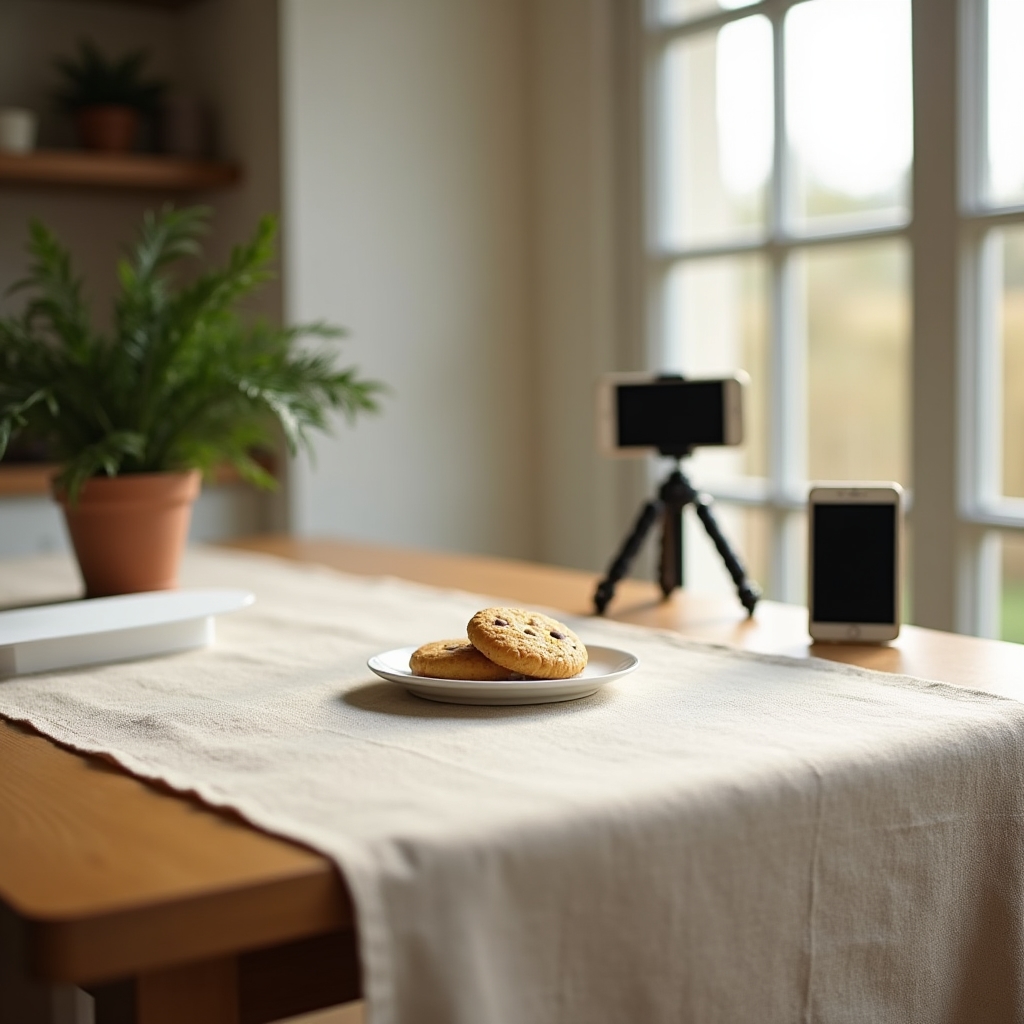
Setup
Lay your background surface. Position your foam board reflector. Check the light quality. Turn off overhead lights.
Style your scene
Place your hero item. Add one or two supporting elements. Check through the camera before committing to the arrangement.
Shoot multiple setups
Shoot overhead. Adjust and shoot at 45 degrees. Try a detail shot. Move the reflector and notice the difference. This is how you learn.
Edit in Lightroom Mobile
Apply your saved preset. Adjust white balance and exposure for this specific image. Export. Done.
Resize and post
Crop to the appropriate ratio for your platform. Write your caption. Post while the food is still fresh-looking.
What self-employed sellers ask most often
Modern smartphone cameras are capable of producing images that work well for Instagram, Etsy, and most website uses. The limiting factor in food photography is almost never the camera. It is the light, the composition, and the styling. A phone with good light and a well-styled scene will outperform a professional camera in a poorly lit, cluttered setup every time. All of our technique guides are written with smartphone cameras as the primary tool.
Yes, with a simple diffusion step. Hang a white curtain, a piece of white tissue paper, or even a white bedsheet over the window. This scatters the direct sunlight into soft, even light that works much better for food photography. Alternatively, identify which time of day your window receives indirect light rather than direct sun, and schedule your shoots for that window of time. Many kitchens have good indirect light in the morning or late afternoon even if they receive direct sun at midday.
Two or three is enough to start. A neutral light surface (white or off-white painted board, or light linen), a warm textured surface (wood board or slate tile), and optionally a dark surface for contrast with light-colored foods. These three cover the majority of food photography scenarios. Consistency is more valuable than variety. Using the same two backgrounds across your Instagram feed or Etsy shop creates a cohesive visual identity that looks intentional and professional.
Shooting with overhead room lighting on. Artificial overhead lights, especially warm incandescent or cool fluorescent bulbs, create a color cast that is very difficult to correct in editing and that conflicts with the natural window light. The fix is simple: turn off every artificial light in the room and shoot with window light only. The second most common mistake is centering the food in the frame. Off-center placement with intentional negative space almost always looks more considered and appealing.
Lightroom Mobile has a free version that includes the adjustments covered in our editing workflow: exposure, white balance, highlights, shadows, clarity, and vibrance. The free version also allows you to save and apply presets. The paid version (part of Adobe Creative Cloud) adds additional tools including selective adjustments, advanced color grading, and raw file support. For the workflow described in our guides, the free version is sufficient.
Get the complete checklist set
Pre-shoot, styling, shooting, and editing checklists formatted for quick reference during a shoot session.