
Beautiful Shots.
No Studio.
No Budget.
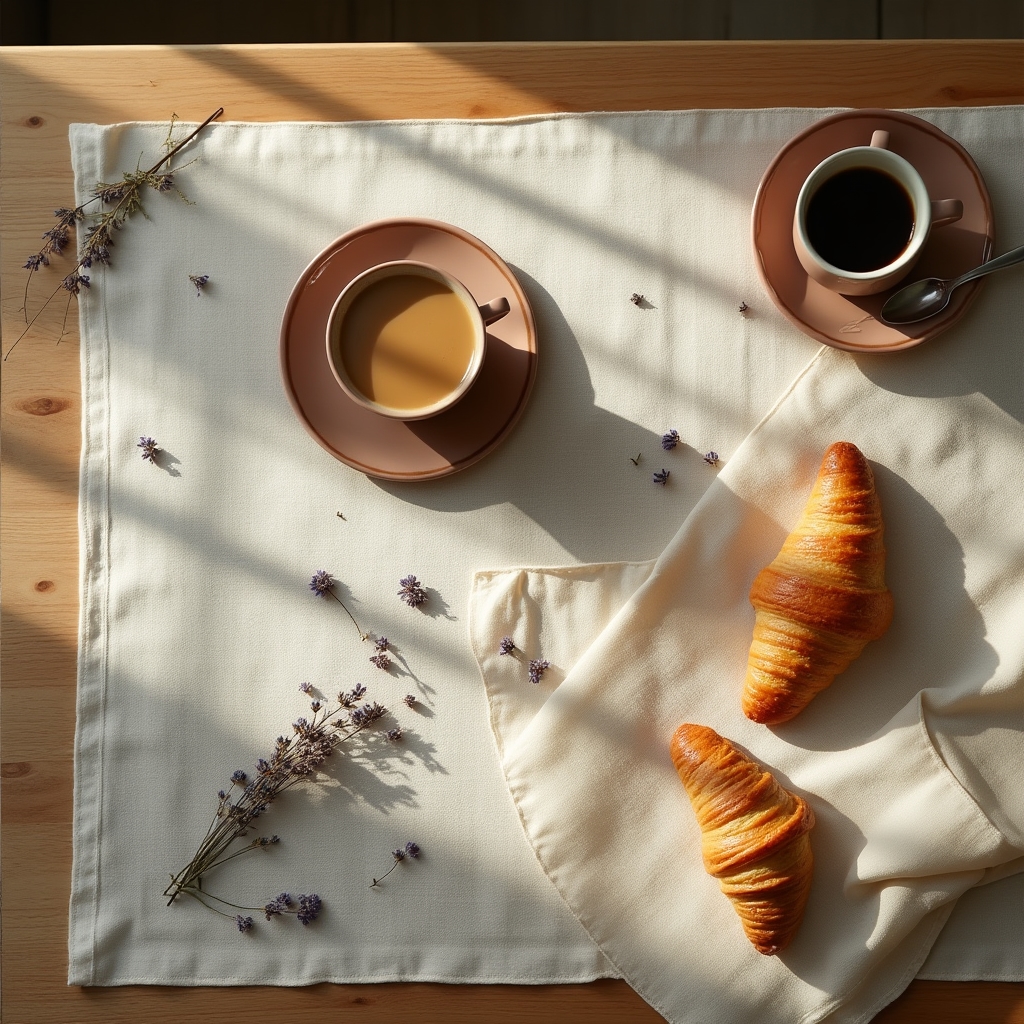
Practical technique guides for small food businesses selling on Instagram, Etsy, and their own websites. Learn to shoot with what you already have.
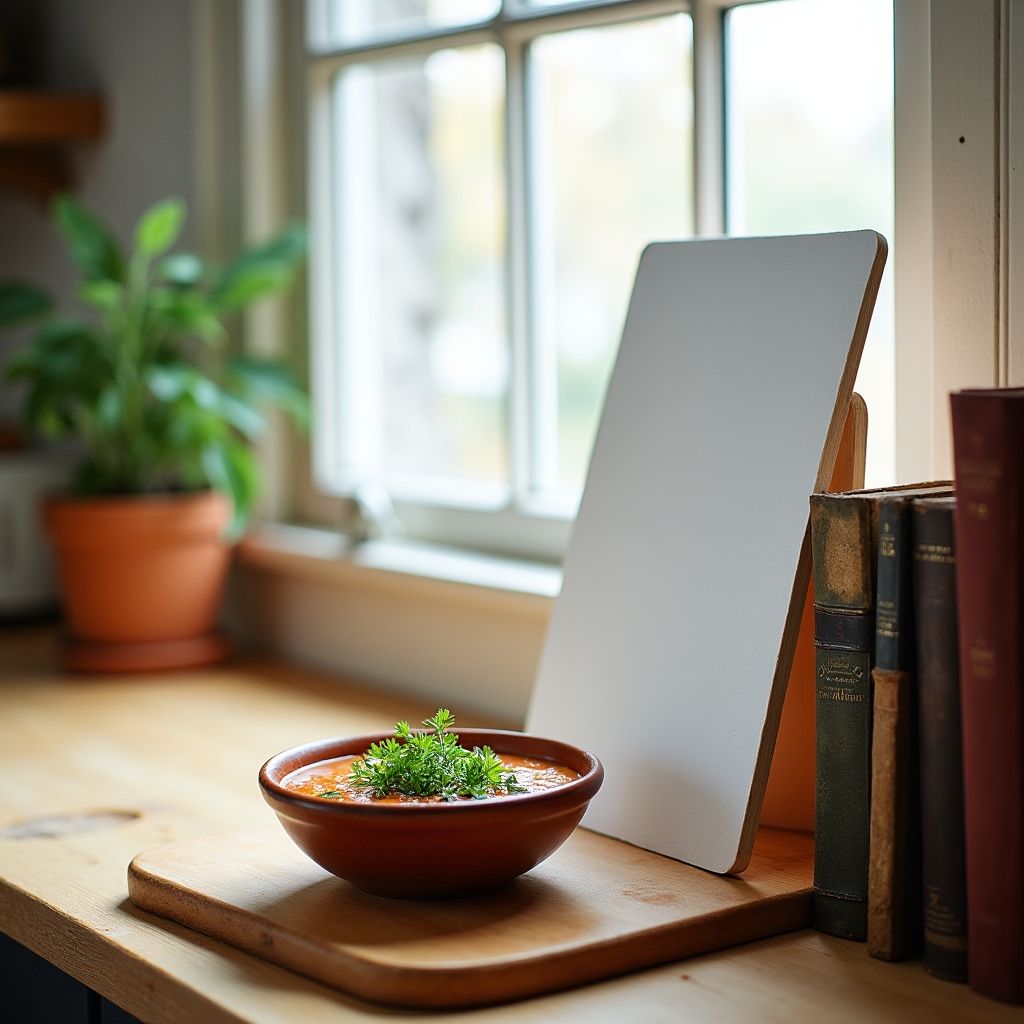
Good light is free. Good technique is learnable.
The gap between a scroll-stopping product photo and a forgettable one rarely comes down to equipment. It comes down to understanding how light behaves, why certain angles reveal texture while others flatten it, and how a carefully arranged scene can feel spontaneous even when every element was placed with intention.
Frame & Light Studio exists to make that knowledge accessible. Not through abstract theory, but through practical, repeatable techniques you can apply in your kitchen this afternoon using your phone and a piece of foam board from the dollar store.
Made for Small BusinessesFrom setup to published photo in four steps
Each technique guide walks you through a complete workflow. Start anywhere, apply immediately.
Find Your Light
Identify the best window in your space, understand the difference between direct and diffused light, and learn when to shoot for your specific food type.
Build Your Scene
Choose a background surface, position your hero item, add supporting props with purpose. Every element earns its place or gets removed.
Shoot with Intention
Select your angle based on the food type, use your foam board to fill shadows, shoot multiple frames. You need one great image, not fifty mediocre ones.
Edit in 3 Minutes
Apply a consistent Lightroom Mobile workflow: exposure, white balance, shadows, a touch of clarity. Save as a preset. Done. Ready to post.
The skills that move the needle
Window Light Fundamentals
Natural window light is the most flattering light source for food. The key is understanding direction. Side lighting from a window creates depth and reveals texture in bread crusts, cake layers, and cheese. Backlighting from a window behind your scene creates that luminous, glowing quality that works beautifully for drinks, soups, and anything translucent. Front lighting (window behind you) flattens everything and should generally be avoided.
A single foam board placed opposite the window bounces light back into the shadow side of your food, reducing contrast to a manageable, appetizing level. Move it closer for softer fill, further away for more dramatic shadows.
Angle Logic
Overhead (90 degrees, shooting straight down) works when the food has an interesting top surface and not much height. Flat lays of pastries, grain bowls, pizza, charcuterie boards, and table settings all benefit from overhead because it reveals pattern, color, and arrangement without distortion.
The 45-degree angle, sometimes called the "eye level" or "table level" angle, works for anything with height, layers, or a liquid component. Stacked burgers, layered cakes, drinks with condensation or garnishes, and anything in a tall glass needs this angle to communicate what makes it special. Shooting a latte from overhead shows you a circle. Shooting it at 45 degrees shows you the crema, the steam, the ceramic texture.
Scene Engineering
The "casual" scatter of herbs, the slightly tilted spoon, the linen napkin with a natural fold, the second cup just peeking into frame. None of that happens by accident. Food stylists call this "engineered naturalness" and it follows consistent principles: odd numbers of elements, varied heights, diagonal flow across the frame, and deliberate negative space that lets the eye rest.
Start with your hero item positioned slightly off-center. Add one supporting element. Step back and look through your camera. Only add a third element if something feels missing. Restraint is the most underused styling tool available.
Lightroom Mobile Editing
The free version of Lightroom Mobile contains everything you need. Import your photo, correct the white balance first (this single adjustment fixes more problems than anything else), then bring up the shadows slightly to reveal detail in dark areas, reduce highlights if any areas are blown out, add a small amount of clarity to sharpen textures, and adjust vibrance rather than saturation to keep skin tones and food colors natural.
Save these settings as a preset. Apply it to every image in your next batch. Adjust only the white balance and exposure per image from that point. Your feed becomes cohesive without any additional effort.
Budget Background Surfaces
Marble-pattern contact paper applied to a piece of foam board or plywood creates a convincing marble surface for overhead shots at a fraction of the cost. Unpolished slate tiles from a hardware store photograph beautifully and are completely food-safe. A yard of natural linen fabric draped over a table provides texture and warmth. Chalk-painted wooden boards in muted tones work for rustic and artisan aesthetics.
The key principle: matte surfaces photograph better than shiny ones because they don't reflect your phone or camera. Neutral tones (warm grays, off-whites, warm taupes) work with almost any food color. Avoid backgrounds that compete with the food in color or pattern intensity.
Platform-Specific Strategy
Instagram favors square or portrait-format images in the feed, but Stories and Reels use vertical 9:16. Etsy product listings work best with square images that clearly show the product against a clean background. Your own website can use wider, more editorial compositions that tell a story.
When you set up a shoot, capture your hero image in portrait orientation, then reframe for a square crop, then shoot a detail shot. Three images from one setup, each optimized for a different platform. This planning approach means less time shooting and more consistency across your online presence.
See the principles at work
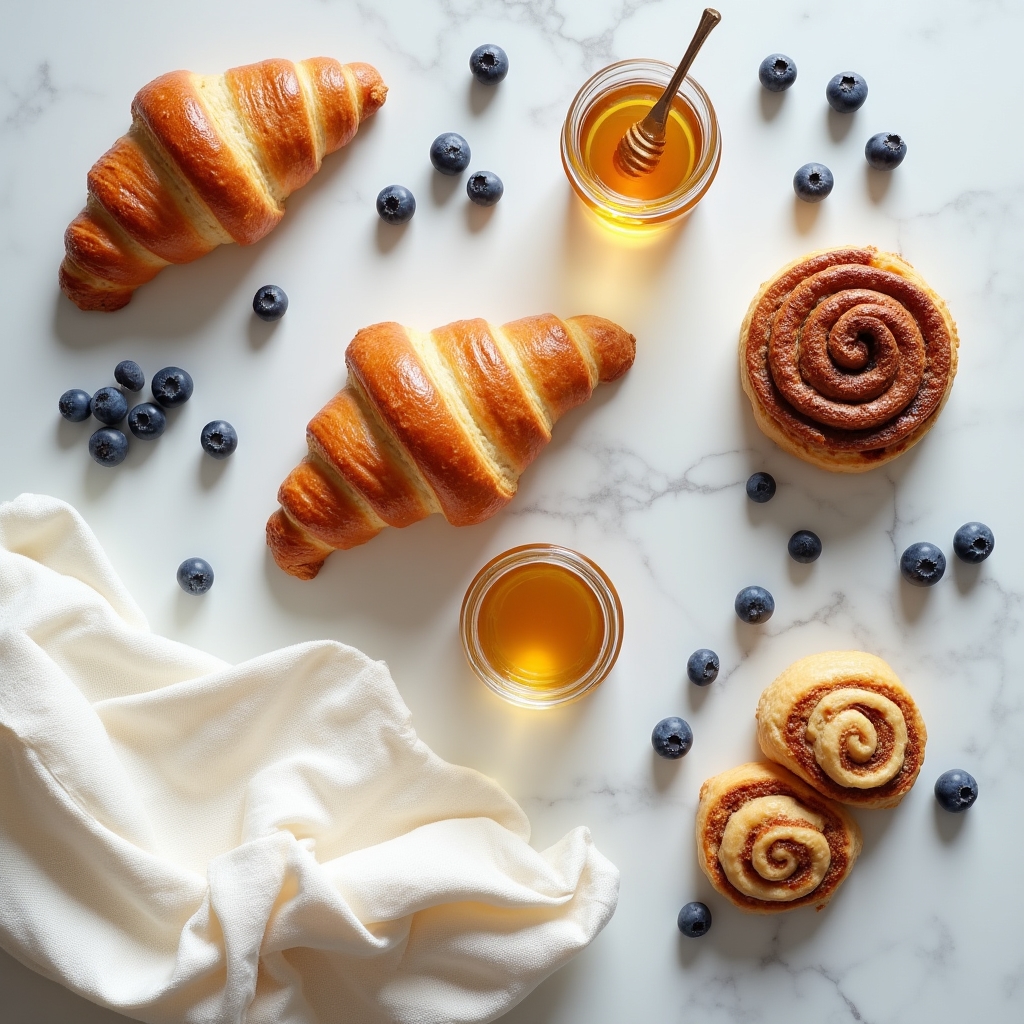
Flat dishes reveal their best face from directly above. Note the diagonal flow and deliberate negative space.
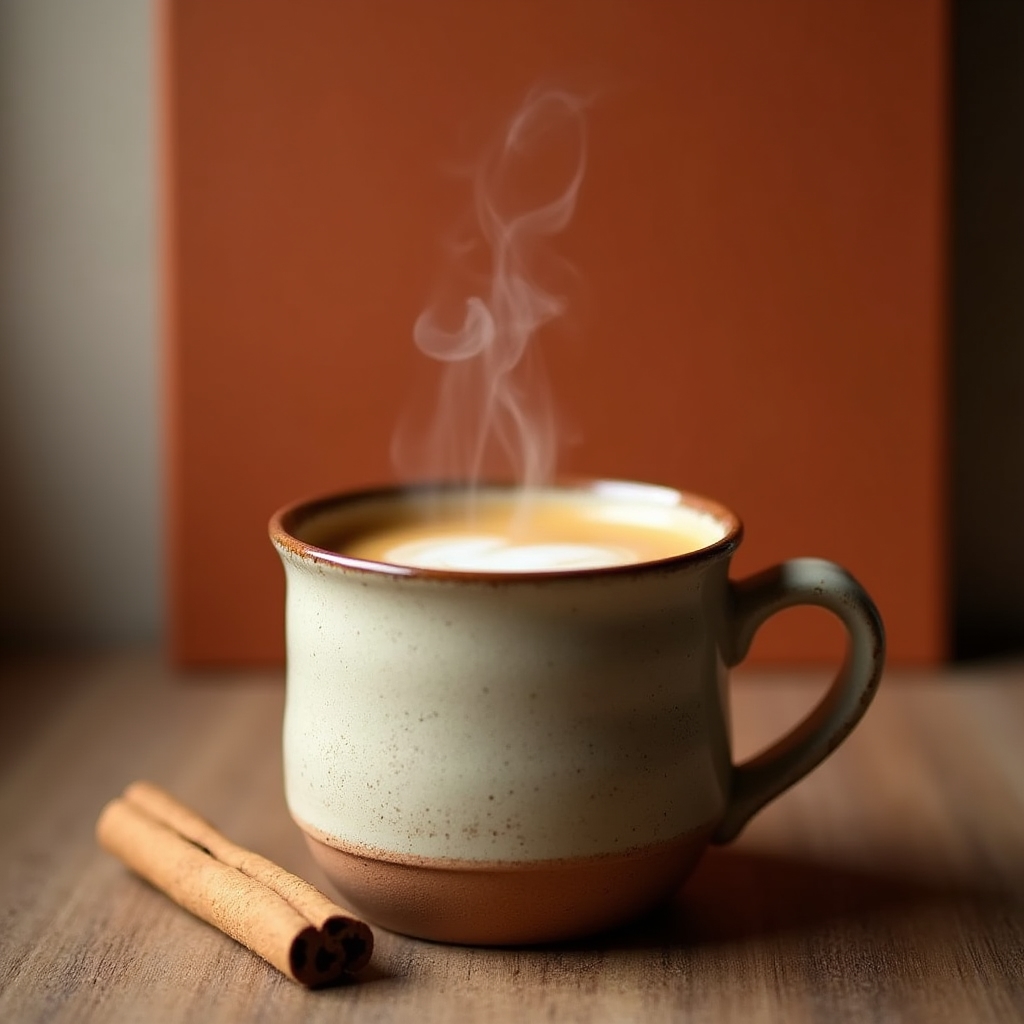
Drinks and layered foods need height to tell their story. The 45-degree angle communicates depth and texture.
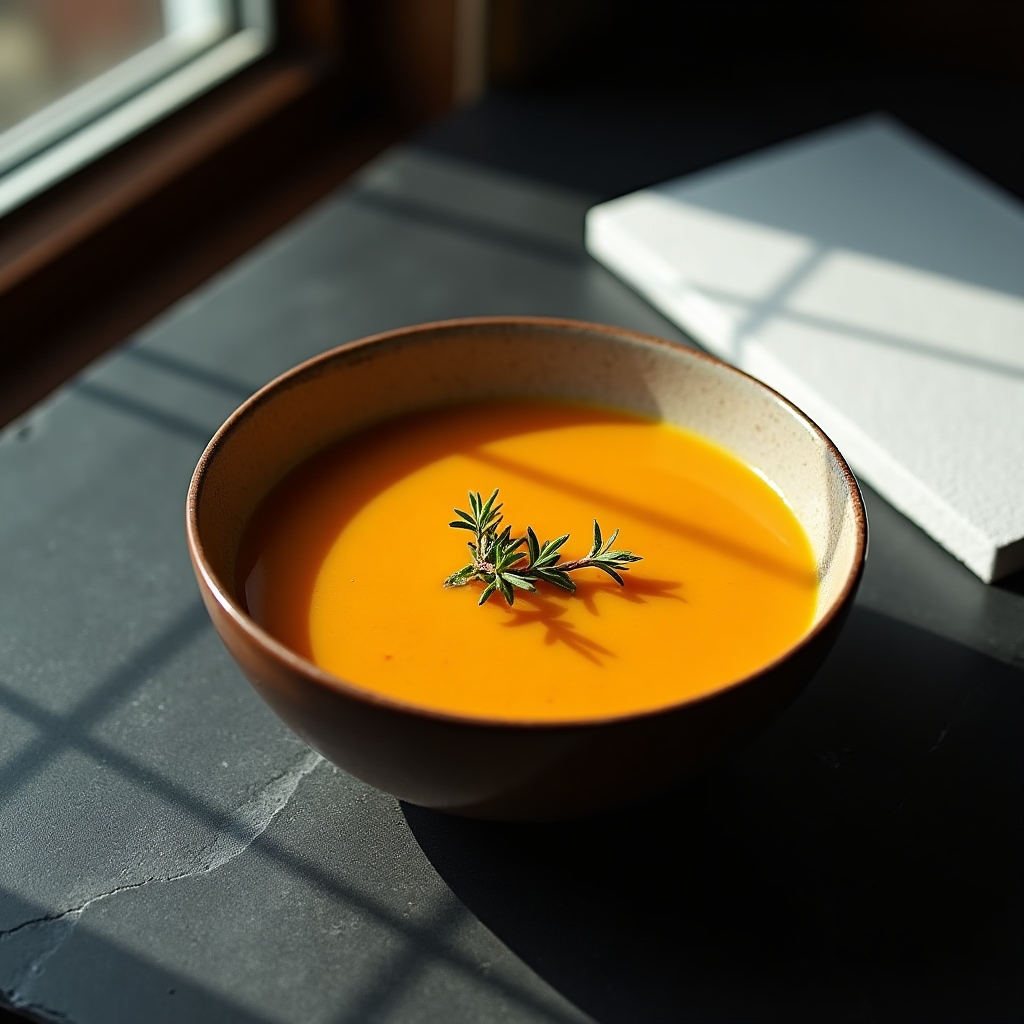
Light from the left, foam board to the right. The shadow side stays visible and the texture of the food is clear.
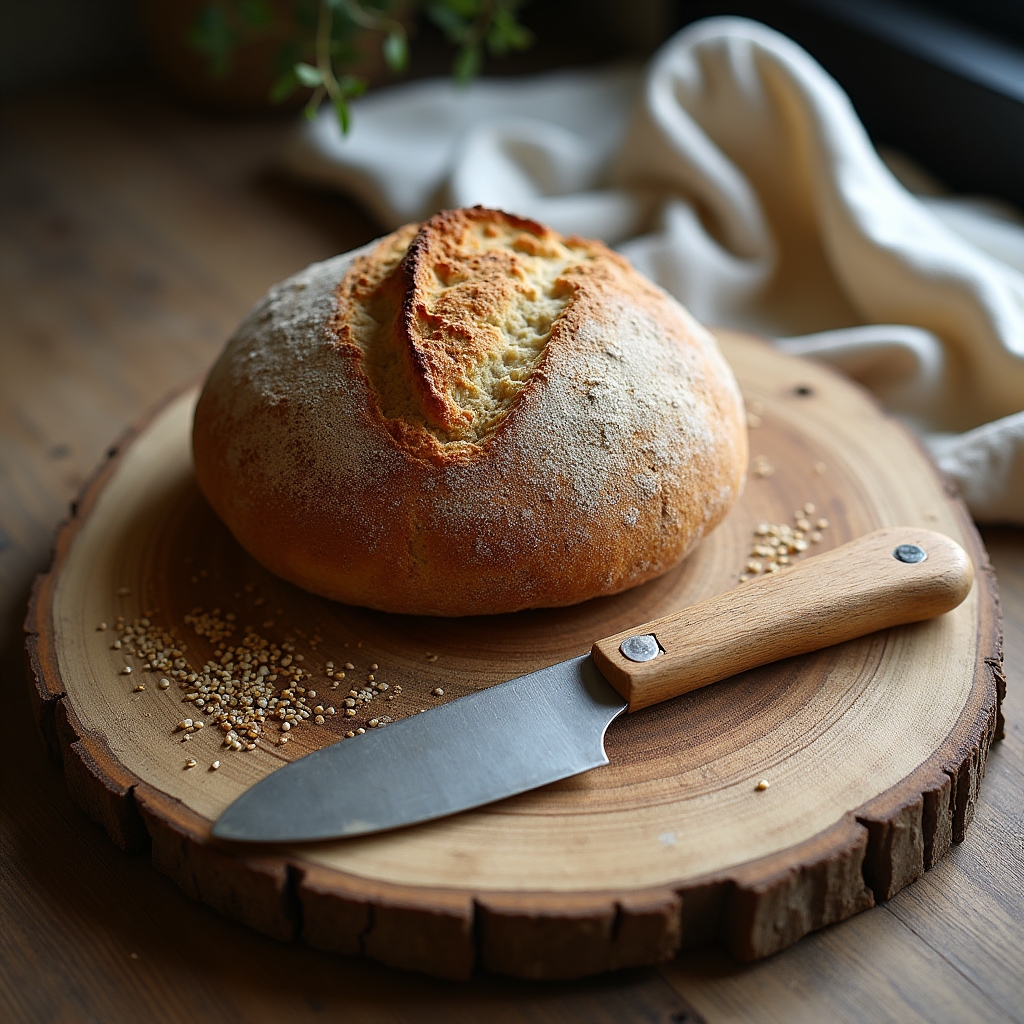
Every element was placed with intention. The result reads as effortless. That is the goal of good food styling.
Where most small business owners start and where they end up
Frustrated with phone photos
You know your product is beautiful but your photos don't show it. Sales feel harder than they should be.
Discovering the fundamentals
You learn about window direction, angles, and why your background matters more than your camera.
First intentional shoot
You set up deliberately, use the checklist, and shoot with a plan. The results surprise you.
Building a consistent workflow
Your editing preset is saved, your shoot setup takes 10 minutes, your feed looks cohesive for the first time.
Photos that work for your business
Listings convert better. Instagram engagement improves. You spend less time second-guessing your photos.
Start with the free checklists
Pre-shoot setup, styling, and editing checklists formatted for quick reference. Download, print, tape to your wall.